8.3.11
Quilting progress - feathers
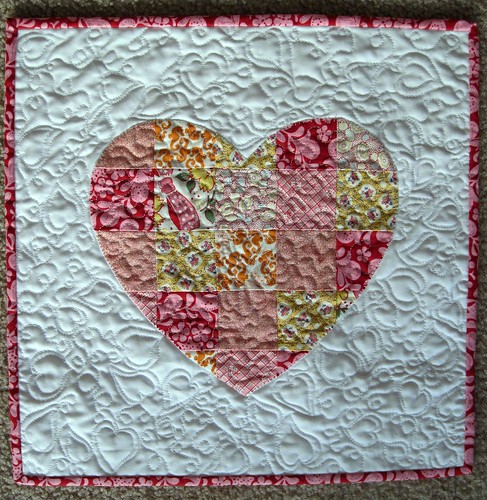
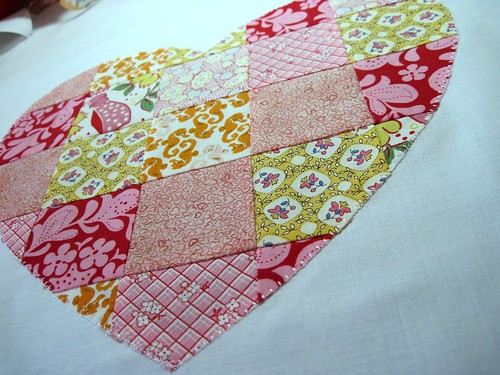
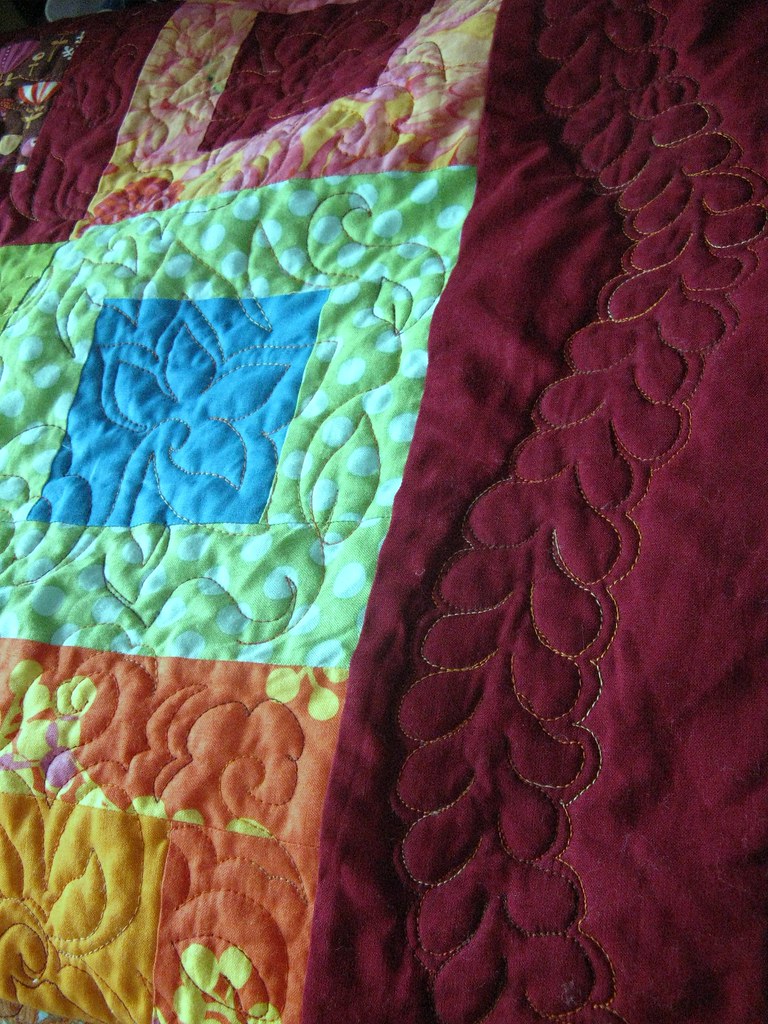
I needed a chunk of time to devote to quilting the the feather onto the quilt border and I found that chunk of time on Sunday afternoon. There was the question of "who" was going to help my daughter with her science fair project and I managed to get my hubby to do so ...
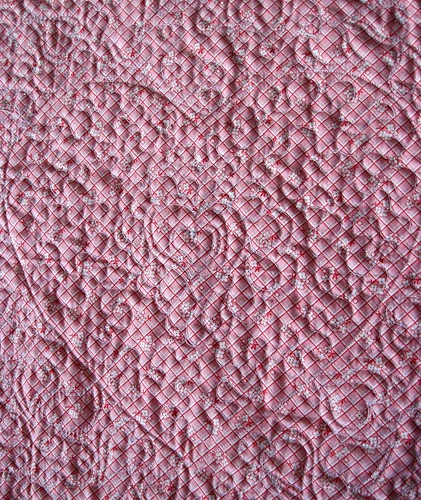
I used a white fabric pencil and free-handed the feather design onto the fabric. I prefer to quilt my feathers without marking the fabric, but in this case, I wanted to ensure a consistent "snaking meander" going all around the border, so marking it worked well. I used Coats & Clark variegated thread - the same thread I used for the the rest of the quilt.
I still need to go through and fix a few mistakes and then this baby is ready for binding.
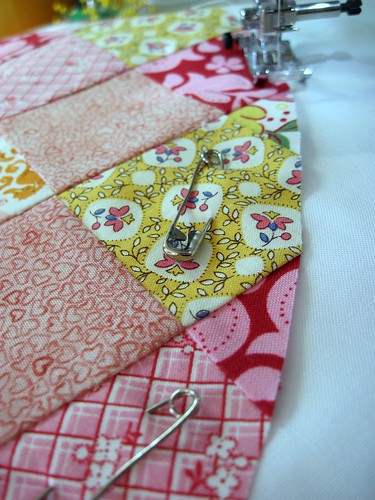
In other (slightly tragic) quilting news, I am now "scrap less"
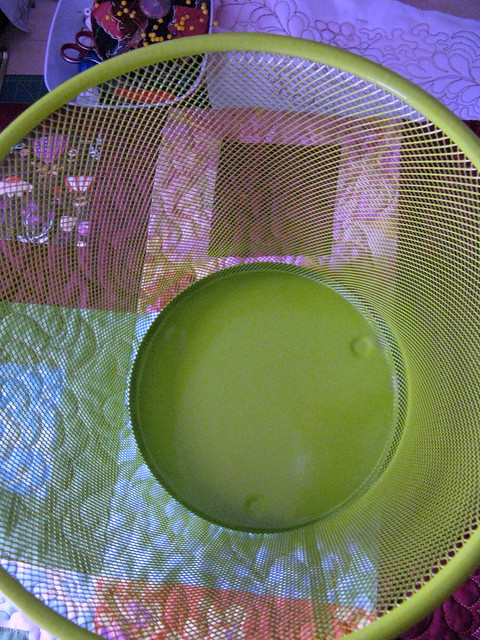
I asked my 16 year old son to empty the trash and he assumed my scrap bin was trash! Oy!!!
2.3.11
Quilting
Over the last couple of weeks, I've been freemotion quilting my Color Block quilt top. On Saturday, I was literally on my last block when I ran out of thread. Hopefully I will not have any trouble finding another spool of matching thread (Coats & Clark variegated from Joann's) and I'll be back in business again.
Here's a view of my progress from the back side. I'm stitching a flower at the center of each block and adding leaves and squiggles to fill around the flowers and connect the blocks. It has gone quicker and easier than I anticipated I think in part due to the design allowing me to work systematically from block to block and not requiring the quilt to be constantly turned. One of the suggested quilting patterns for this design is to quilt conscentric squares starting at the center of each block. While it would've looked very cool, I doubt I'd have the patience to execute such a design. This is a queen sized quilt!
In some cases like in the photo above, I let the prints guide my flower designs. I've been letting loose and having fun.
16.2.11
Upset tummy
My daughter woke this morning complaining of an upset stomach. She insisted she was too sick to go to school so I stayed at home today and suddenly found myself with a few extra hours on my hands.
Remember this one? Probably not ... it's been a while! This is a fairly big quilt top - it measures 98" x 83". I purchased some gorgeous backing fabric, folded it up with the quilt and it's been sitting on top of my armoire ever since. Today, I unfolded the whole mess, pieced the back, cleared the dinning room of furniture and laid it all out and got it sandwiched and pinned.
Now I have to decide how I want it quilted. Any ideas? Possibilities include:
1. geometric spiral starting at the center of each block
2. free-form feathers (my current obsession)
3. Echo quilting around the print on the backing (flowers, etc.)
****
A birthday gift for a friend who loves purple.
Remember this one? Probably not ... it's been a while! This is a fairly big quilt top - it measures 98" x 83". I purchased some gorgeous backing fabric, folded it up with the quilt and it's been sitting on top of my armoire ever since. Today, I unfolded the whole mess, pieced the back, cleared the dinning room of furniture and laid it all out and got it sandwiched and pinned.
Now I have to decide how I want it quilted. Any ideas? Possibilities include:
1. geometric spiral starting at the center of each block
2. free-form feathers (my current obsession)
3. Echo quilting around the print on the backing (flowers, etc.)
****
![]() |
Mug Rug 7x7 |
13.2.11
Mini
I was really in the mood to "make" something from the design stage all the way through to the binding, so that's exactly what I did this weekend. With just a rough idea of what I had in mind, I started cutting the squares Friday night. Saturday, I designed the heart (using freezer paper), machine appliqued it to the background, sandwiched the quilt and finished the binding that evening.
Happy Valentine's Day!
Subscribe to:
Posts (Atom)