

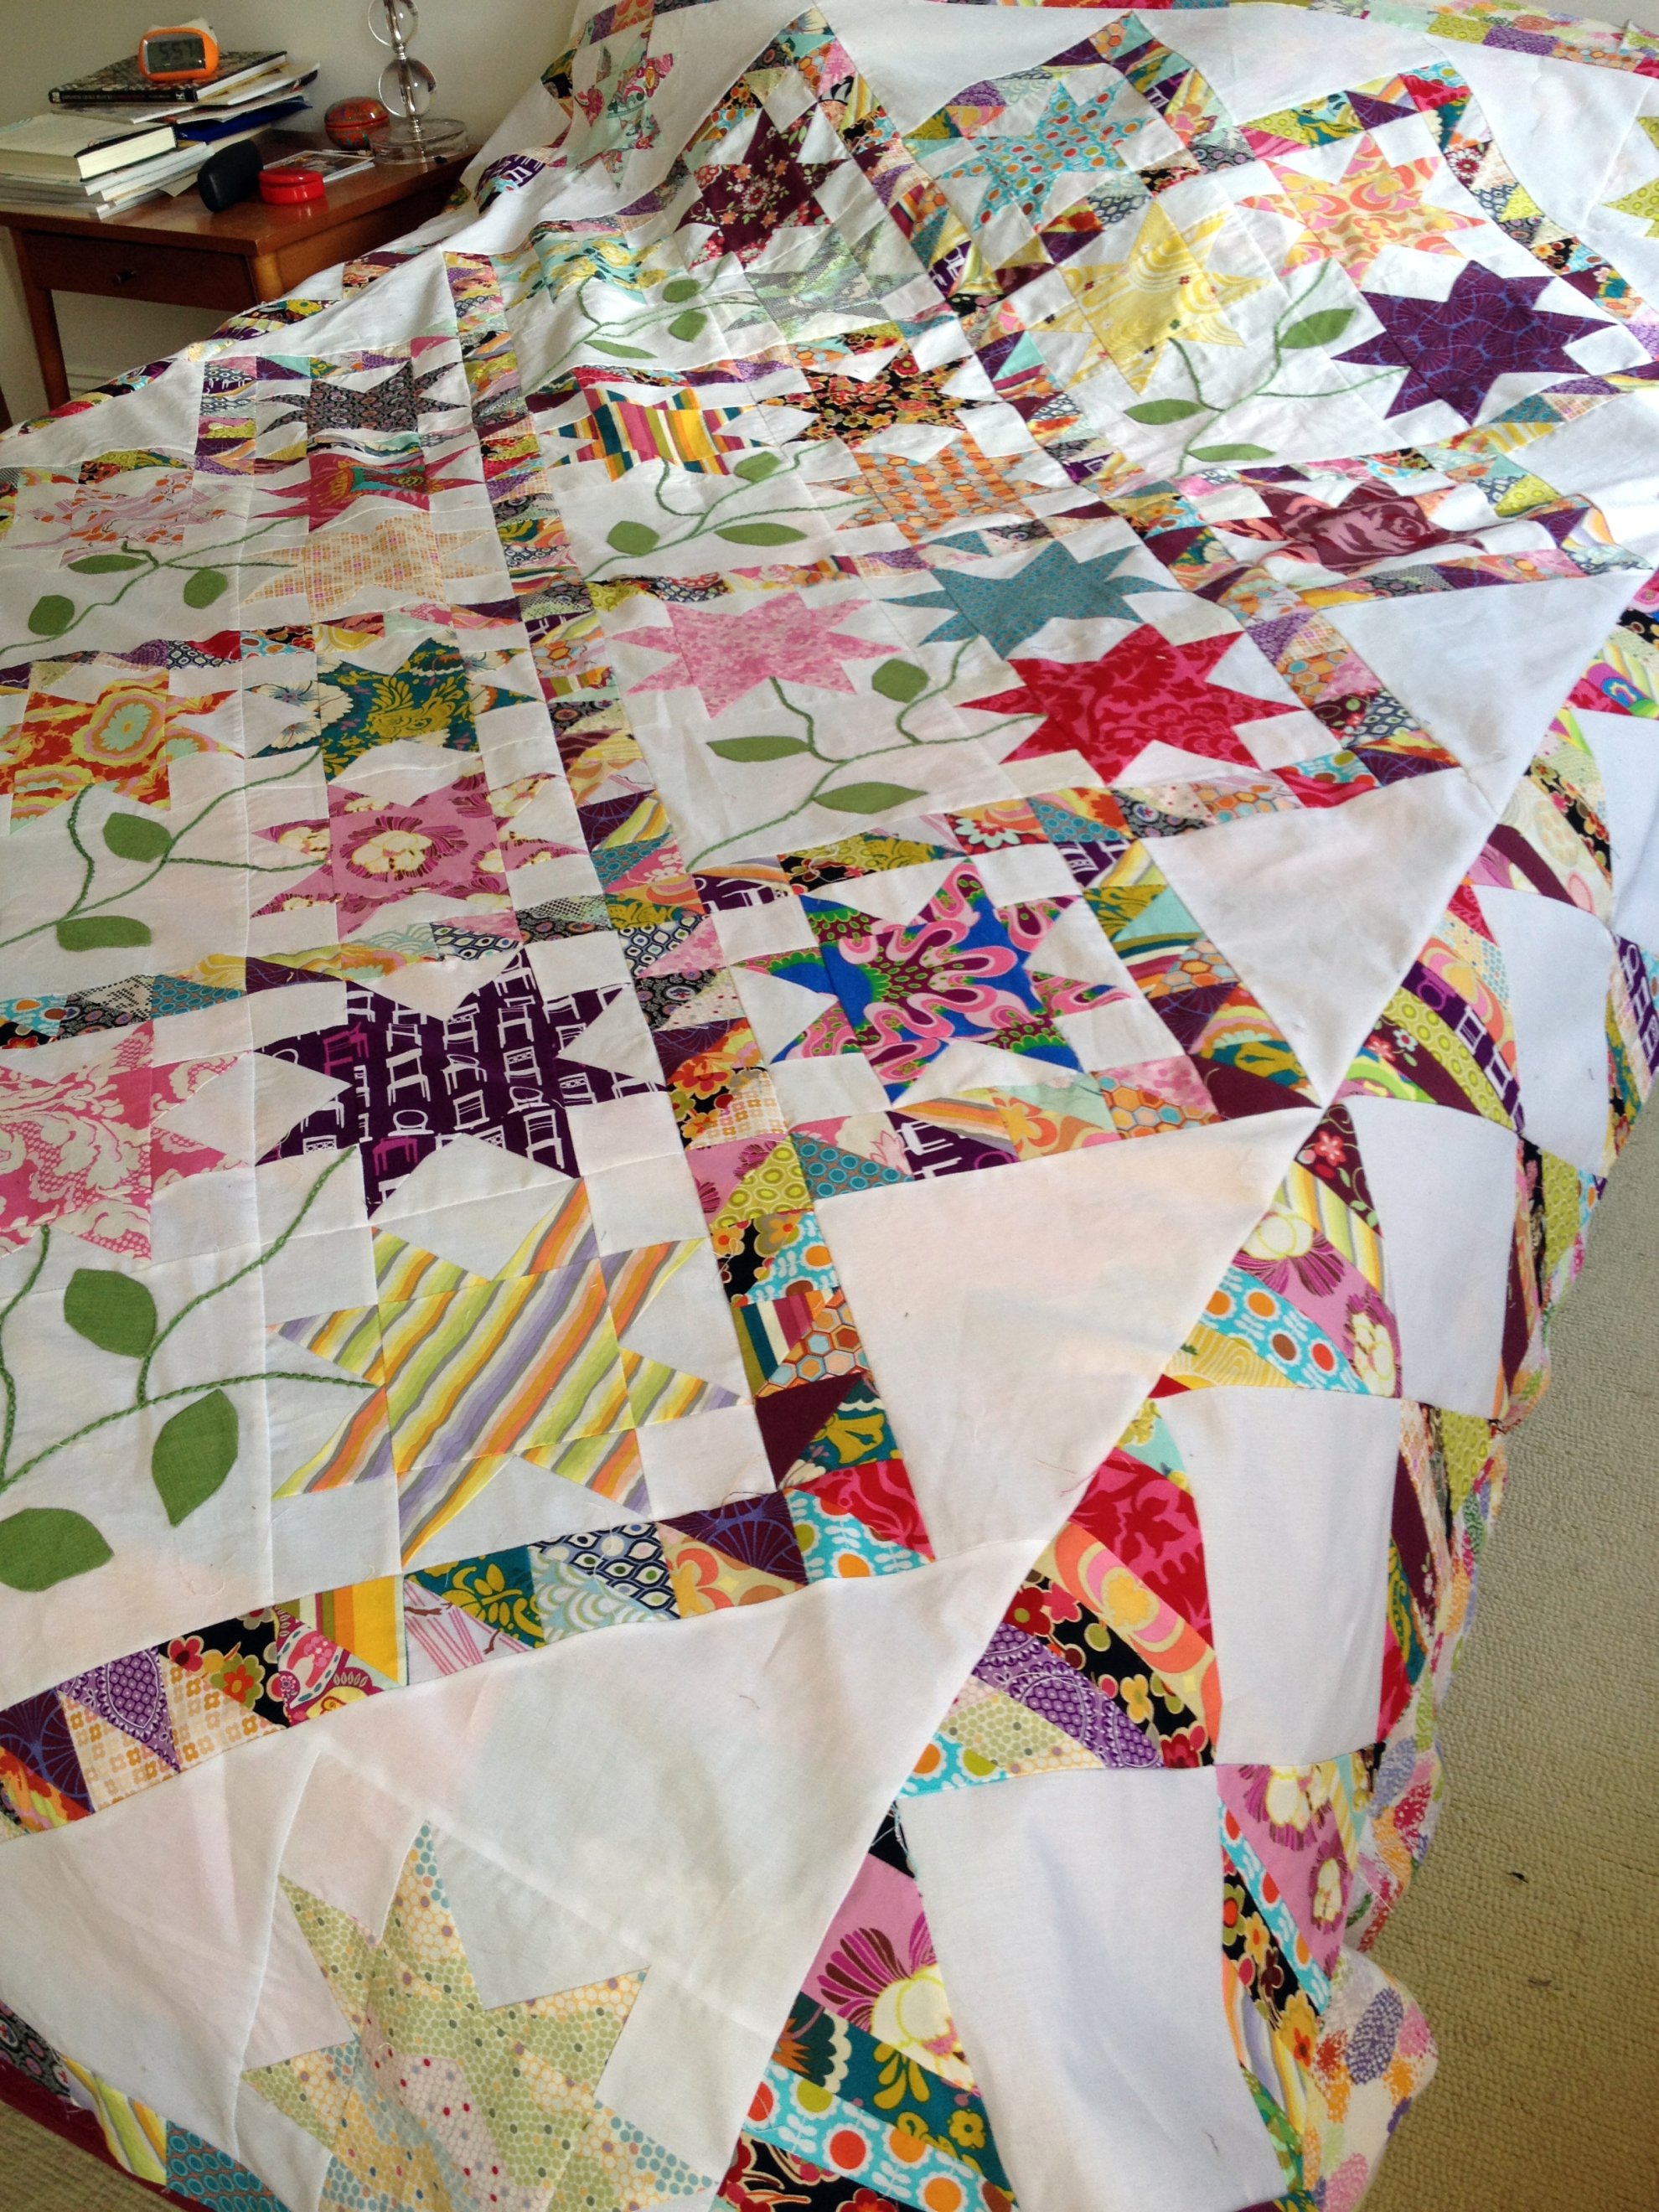
You can't really see those skinny borders in the picture above, but by some minor miracle, the borders are on and match up pretty well. This is just one of many frustrating instances where better instructions (Material Obsession I) would've been SO helpful. The smart thing to do would have been to cut the scraps used in the skinny borders an extra .5 to 1" wider and then trim them down to match the diamond border. But of course this didn't occur to me until after I had cut all my pieces! If it hadn't gone together well, the thought of chucking it out the window crossed my mind.
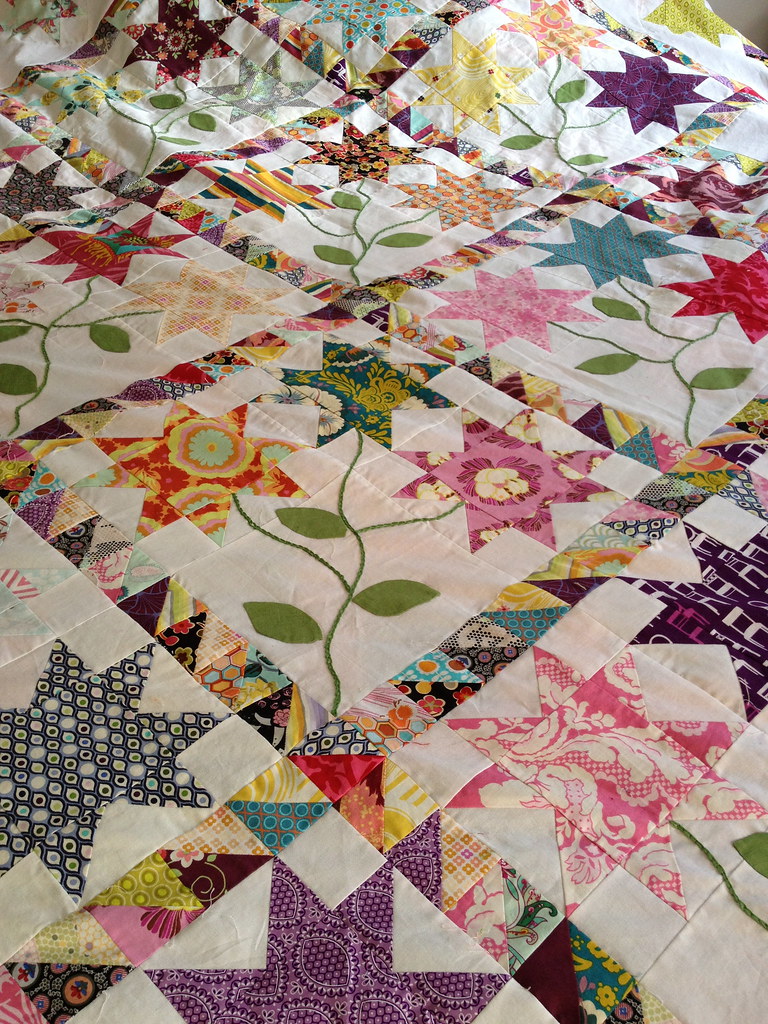
I still need to add plain white borders around the entire quilt and then it will be ready for quilting. I haven't purchased backing fabric yet but I'm considering this elephant print by Valori Wells:

What do you think?
With this quilt so close to completion, I needed a change of pace, so I pulled out the oceanscape quilt I started in a class taught by Kathy McNeil in October. I had all of the bits and fabric tossed in a plastic bag for months. It felt liberating to do something with fabric that is 180 degrees different from an old-fashioned pieced quilt.
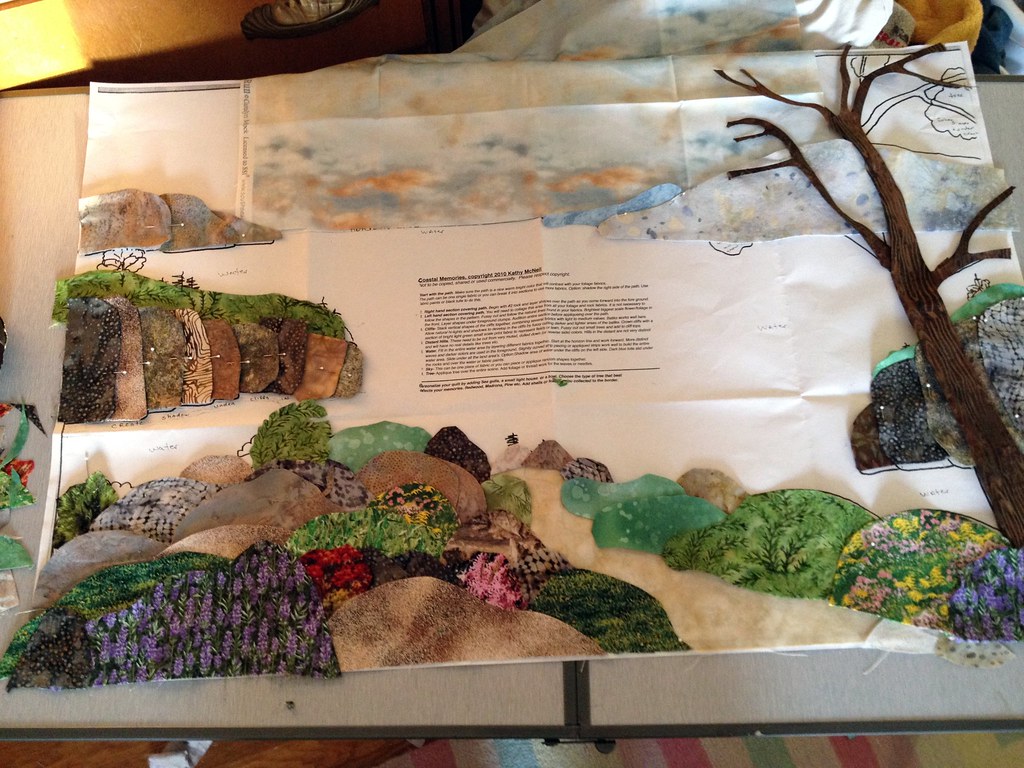
The quilt is constructed a little differently than I would've thought. Instead of creating the background first, you build your pieces that create the land masses, rocks and foreground and these are not backed with any fabric. Each individual piece is cut, edges turned, clipped and pressed into shape and then pinned together with some glue (just a plain old glue stick) to help keep things together until they are hand sewn. Spay sizing is a must. Just looking at the photo, it looks like I could slap something together like this in minutes if I had chosen to use a fusible product instead of constructing by hand. But there's something about this process. With some music playing on Pandora, it's meditative and makes for a very relaxing afternoon of sewing. Plus, most of the shapes are free-form, so no worrying about strictly following a pattern, matching seams, etc.
There is a rough pattern to follow which you can see it in the photo above. I laid out some cloud fabric to audition it with my pieces.
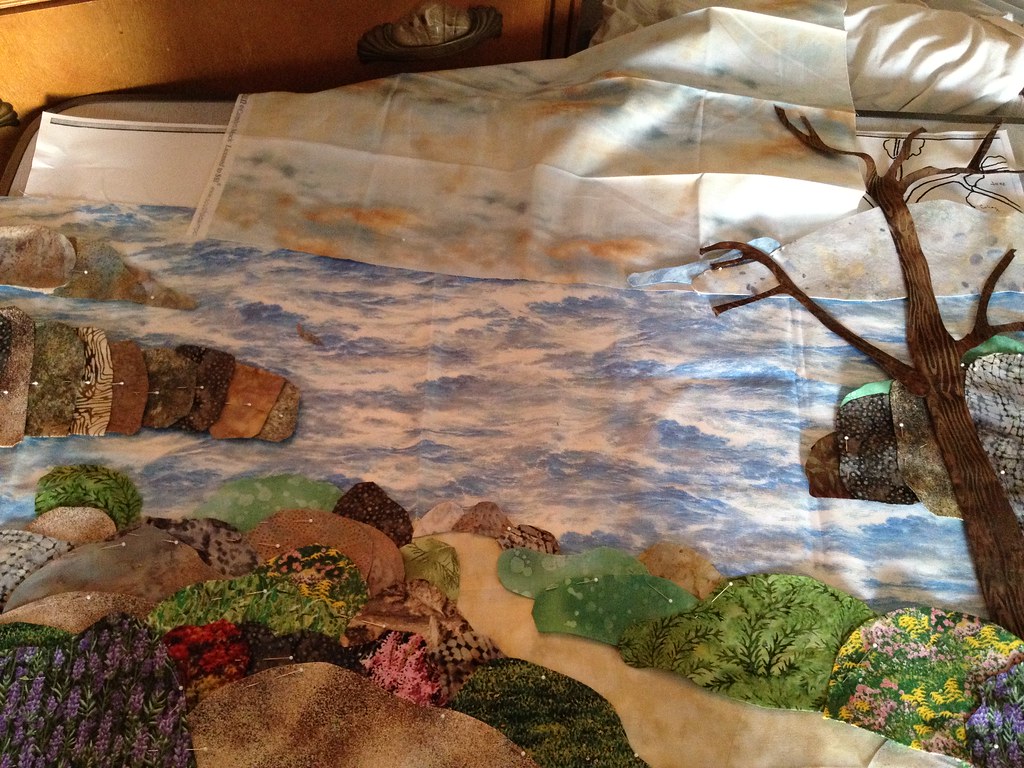
Here's an idea of how it will look with the water. I'm actually going to piece the sky and water from several different fabrics. Not sure how to do this, but will figure it out once I have all of my land pieces together.
I'm using batiks from my stash and swapped some fabric with my sister but I also had to shop for some really "uncool, non-designer" fabrics and it's been FUN. Kind of like painting with fabric.
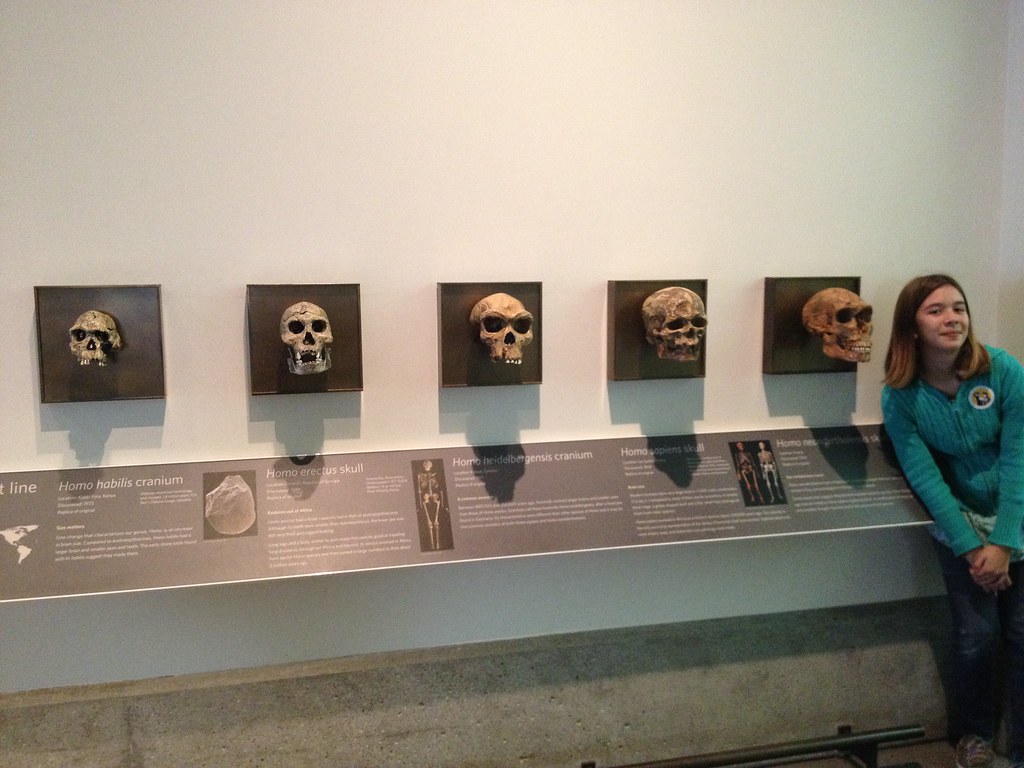
On a personal note, I was off for my kids' spring break two weeks ago. My daughter and I spent a day at the California Academy of Sciences. Here she is, posing with her ancestors.
1 comment:
YOur Liberty Fields quilt is simply stunning...Love it. It's annoying when instructions are not clear or accurate as it takes a lot of effort and cost to produce a quilt. I also love your landscape quilt, looks very realistic. Congratulations on both projects.
Post a Comment